We started editing by choosing the best shots of our raw footage, and following our story board we had previously made - we started ordering and editing our footage.
Here we decided to place to bits of footage on top of each other and made the top footage more transparent than the bottom so you could see both on the same screen. We really liked this, as the effect looked good and really added to our project as a whole.
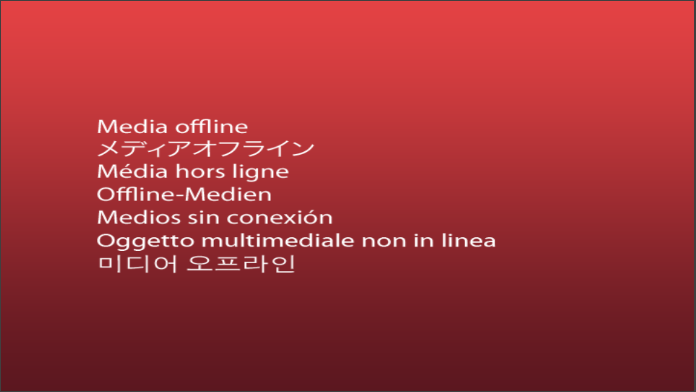
Part way through editing we had a big problem, PremierePro didn't recognise our footage and we couldn't edit any of our footage. We tried to remedy this by googling for help and looking at Youtube videos about the problem, but we couldn't fix it. We had to start editing again from the beginning, to stop this fault from happening again we decided we would only edit from one computer and we wouldn't open the footage on any other computer just o be sure that this wouldn't happen again.
This is where we started editing from the beginning changing parts as we went on, if we didn't like it in our first edit.
Once we finished editing we started to add the simple titles to our footage, as well as Agne's film title that she had edited in after effects - which would go at the end of our opening. We watched the openings of films like Se7en to see where all the titles should go, deciding as a group that the director title would go at the end to make it look more professional.
After adding the sound and the transactions we colour corrected our footage.
We did this by going into the video effects, Clicking 'Colour Correction' and then choosing 'colour Balance (HLS)' and dragging it onto the footage that needed colour correcting.
We then changed the footage by changing the hue, lightness and saturation to make it look more realistic and more like a horror.
Doing this also made the blood look more realistic than what it used to look like.


No comments:
Post a Comment