We had to add more sound to our Project. However, this was diegetic sound we recorded, once we put the sound onto Premiere Pro we started to edit it as it was less clear quality to that of the sound we got of FreeSound. We found this to work well as the quality of the sound was good and there was no background sound to edit out.
We used a 'PitchShifter' effect on all of the exorcisms, this effect made it sound as though a child was saying the exorcism. We also lowered the volume so all the sound could be heard.
These are the screen shots of us editing the sound.
Once we finished editing the sound and layering it, we rendered the work area and exported the movie to my area.
We chose maximum render quality and put the export format as quicktime, so we could easily transport it to YouTube. The output name was the name of our project, 'CHRISTO'.
Production: Practicing Sound 3
John downloaded some sample tracks from free sound, which included; children
laughing, music box and various other noises, which he used to work with whilst
editing and selecting what was going to be put into our overall music.
This is
an example of one of the sound tracks, which John downloaded from FreeSound.
However he didn't use this one when composing the sample music as we, the group,
managed to find a more suitable version of children laughing in the playground.
The other one worked more effectively and is better for the sound.
John placed
the sounds together in Premiere Pro as he couldn't open or import the music into
Garageband. Although he does think this worked better as Premiere Pro enabled him to use audio effects and transitions, which he wouldn't be able to use on
Garageband. For example;
These
were the effects that John used, Pitch-shifter, Volume and High-Pass. All of these
effects enabled him to make the girls laugh, toward the end, sound more sinister
and fit better with what we are doing. He made the pitch slightly higher and
distorted the sound so that it is unclear and fits the genre of Horror.
These
are the tracks that he used to create the piece and they are all free from
FreeSound. If he were to create another example he would use this site again as a
variety of sounds are available.
Here is the example.
Production: Practicing Sound 2
Here is
an example of John's own interpretation of 'Twinkle Twinkle'. It was done using the
piano and some of the synth pads to create an eerie atmosphere to the music
itself. He thinks that it is effective as he has used multiple instruments to
build up the layers of the music and also it gives us the impression of
children singing as well. You can hear this in a lot of horrors as the children
connote innocence and purity and by using a nursery rhyme it plays on this
idea. However John thinks it could be better by adding more instruments and
ensuring that the precision of timing is there.
Production: Practicing Sound
Although John think this all worked well together, he doesn't
think we will use it in our final outcome as we were hoping for something more
subtle as there will be a recording of an exorcism over the top. This will be
whispered so it would be better if we also had something quieter.
Even though John didn't like the original for our final
outcome, he worked with it still and added a sample of emotional piano 3 which
makes it sound more discordant and works effectively.
In the future John will use more samples to compose a piece of
music because it can be subtly linked to what we are doing and will work better
when it comes to editing and placing everything together. He has another idea
to produce a falling piano motif which could possibly work if it is pitched
high enough and also sounds discordant.
Editing: Proof
We started editing by choosing the best shots of our raw footage, and following our story board we had previously made - we started ordering and editing our footage.
Here we decided to place to bits of footage on top of each other and made the top footage more transparent than the bottom so you could see both on the same screen. We really liked this, as the effect looked good and really added to our project as a whole.
Part way through editing we had a big problem, PremierePro didn't recognise our footage and we couldn't edit any of our footage. We tried to remedy this by googling for help and looking at Youtube videos about the problem, but we couldn't fix it. We had to start editing again from the beginning, to stop this fault from happening again we decided we would only edit from one computer and we wouldn't open the footage on any other computer just o be sure that this wouldn't happen again.
This is where we started editing from the beginning changing parts as we went on, if we didn't like it in our first edit.
Once we finished editing we started to add the simple titles to our footage, as well as Agne's film title that she had edited in after effects - which would go at the end of our opening. We watched the openings of films like Se7en to see where all the titles should go, deciding as a group that the director title would go at the end to make it look more professional.
After adding the sound and the transactions we colour corrected our footage.
We did this by going into the video effects, Clicking 'Colour Correction' and then choosing 'colour Balance (HLS)' and dragging it onto the footage that needed colour correcting.
We then changed the footage by changing the hue, lightness and saturation to make it look more realistic and more like a horror.
Doing this also made the blood look more realistic than what it used to look like.
Editing: After Effects
We decided to trial the effect of demon eyes on Evangeline. However, this was unsuccessful as it corrupted our film. This is the evidence of us testing this effect on our footage. We used a YouTube tutorial to guide us though how to do this effect.
Adding the first eye layer.
Adding the second eye frame layer.
This was us adding in keyframes so that the eyes would follow Evangeline's head movements, rather than start in one place.
Filling in the colour.
Overall this effect was successful and effective, but it cut half of our movie so we had half a screen of black and half screen of the presentation, therefore we could not use this. We would like to attempt another effect like this in the future and hopefully it will be more successful, but we decided to leave this out of our project as it was not up to a good standard.
Production: Raw Footage
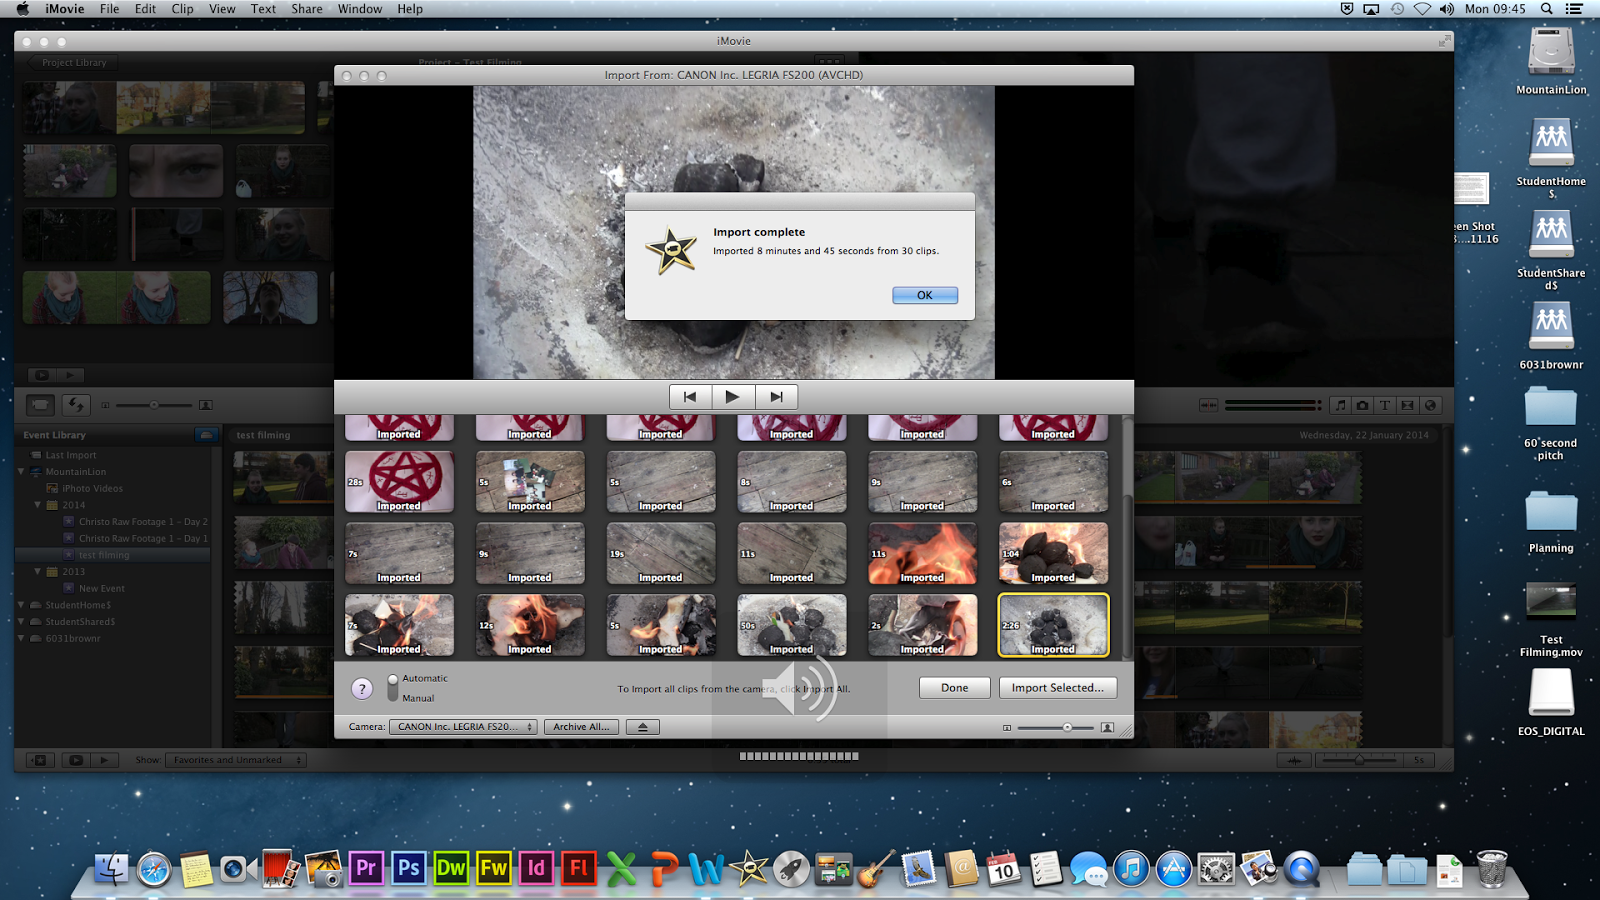
This was the first lot of raw footage uploaded onto the computer, we did it via iMovie, then exported it to my desktop, so we could just upload it to Premiere Pro together as a small film so it would be less difficult truing to find specific pieces of footage when editing.
We found this to be the easiest way and most efficient of transferring the raw footage.
This was our second lot of raw footage. We created a new event for it so we wouldn't mix up the first lot of raw footage with the second. Once the footage had been imported to iMovie we created a new project for it and transferred all of it into there then exported the lot onto my desktop.
This is our third lot of raw footage we added, doing the same with it as we did the others.
This is are forth and final lot of footage, we needed this for the sound as it is our exorcism voice over, so we transferred this from our camera to my computer, then doing the same as we did with the other footage.
From my desktop where I had saved all of our raw footage, I made a folder for the footage and left the folder on my desktop, so the raw footage could be easily found when we started editing and needed to transfer it across to Premiere Pro.
Subscribe to:
Comments (Atom)


